daemonize
js import { Server } from "socket.io"
title: Tutorial - Introduction sidebar_label: Introduction
slug: introduction
Getting started
Welcome to the Socket.IO tutorial!
In this tutorial we'll create a basic chat application. It requires almost no basic prior knowledge of Node.JS or Socket.IO, so it’s ideal for users of all knowledge levels.
Introduction
Writing a chat application with popular web applications stacks like LAMP (PHP) has normally been very hard. It involves polling the server for changes, keeping track of timestamps, and it’s a lot slower than it should be.
Sockets have traditionally been the solution around which most real-time chat systems are architected, providing a bi-directional communication channel between a client and a server.
This means that the server can push messages to clients. Whenever you write a chat message, the idea is that the server will get it and push it to all other connected clients.
How to use this tutorial
Tooling
Any text editor (from a basic text editor to a complete IDE such as VS Code) should be sufficient to complete this tutorial.
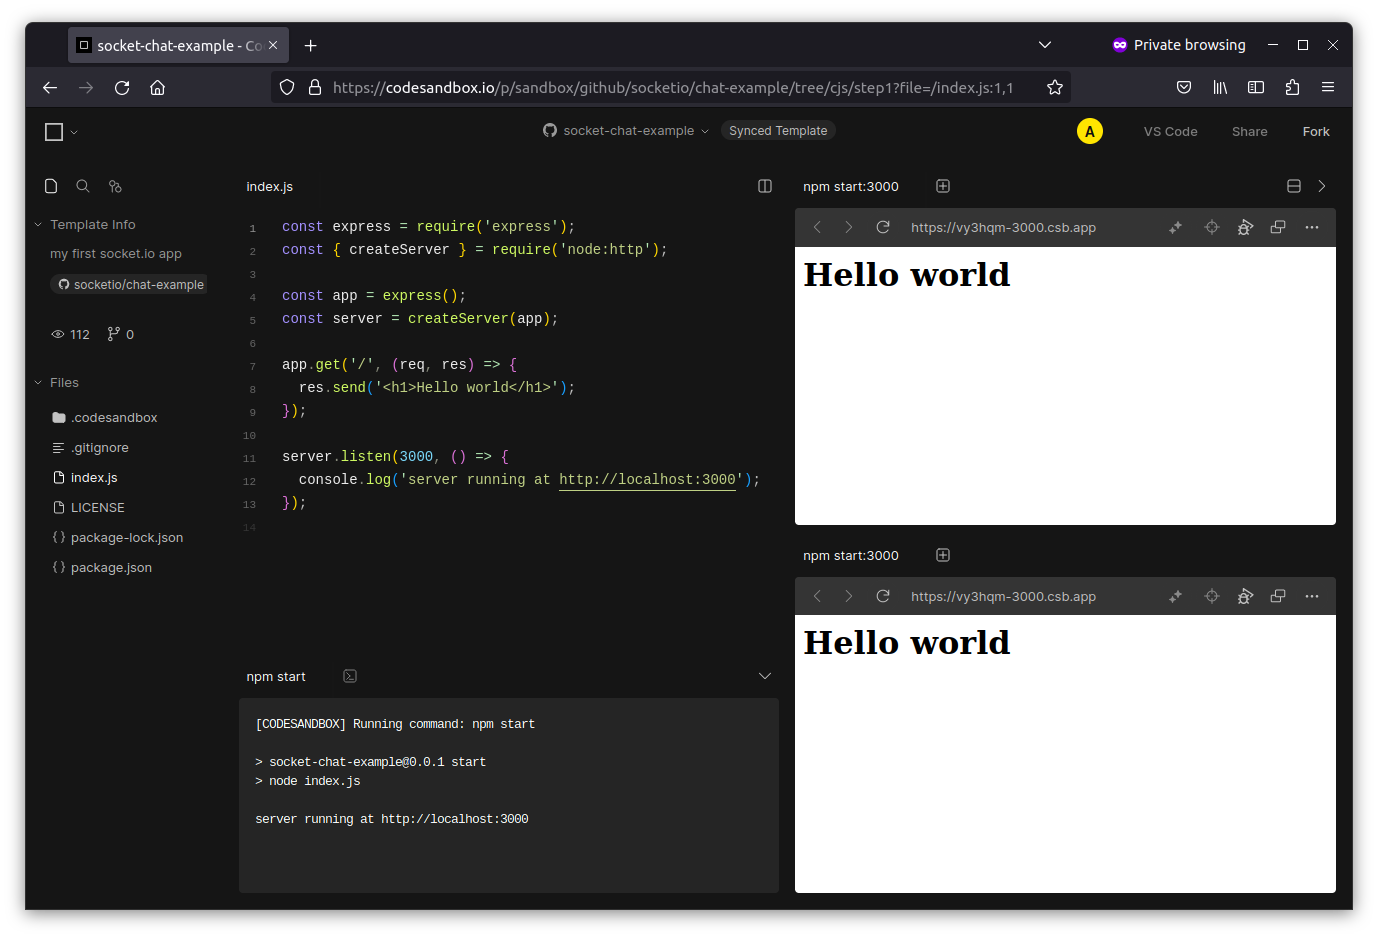
Additionally, at the end of each step you will find a link to some online platforms (CodeSandbox and StackBlitz, namely), allowing you to run the code directly from your browser:

Syntax settings
In the Node.js world, there are two ways to import modules:
- the standard way: ECMAScript modules (or ESM)
import { Server } from "socket.io";
Reference: https://nodejs.org/api/esm.html
- the legacy way: CommonJS
const { Server } = require("socket.io");
Reference: https://nodejs.org/api/modules.html
Socket.IO supports both syntax.
We recommend using the ESM syntax in your project, though this might not always be feasible due to some packages not supporting this syntax.
For your convenience, throughout the tutorial, each code block allows you to select your preferred syntax:
- CommonJS
- ES modules
const { Server } = require("socket.io");
import { Server } from "socket.io";
Ready? Click "Next" to get started.